
After a few years of use, the door frame might start looking dilapidated, worn-out, or outdated, which looks dull and is also a safety concern. This may be due to overuse, exposure to moisture, accidental impacts, temperature changes, and general wear and tear, etc.
As the issues grow, the frame weakens, which can affect the functionality of the door, eventually making replacement a necessity. With a few tools in hand and a bit of creativity, you can replace the door frame on your own. While the process is quite easy, this blog will guide you to replace a door frame confidently.
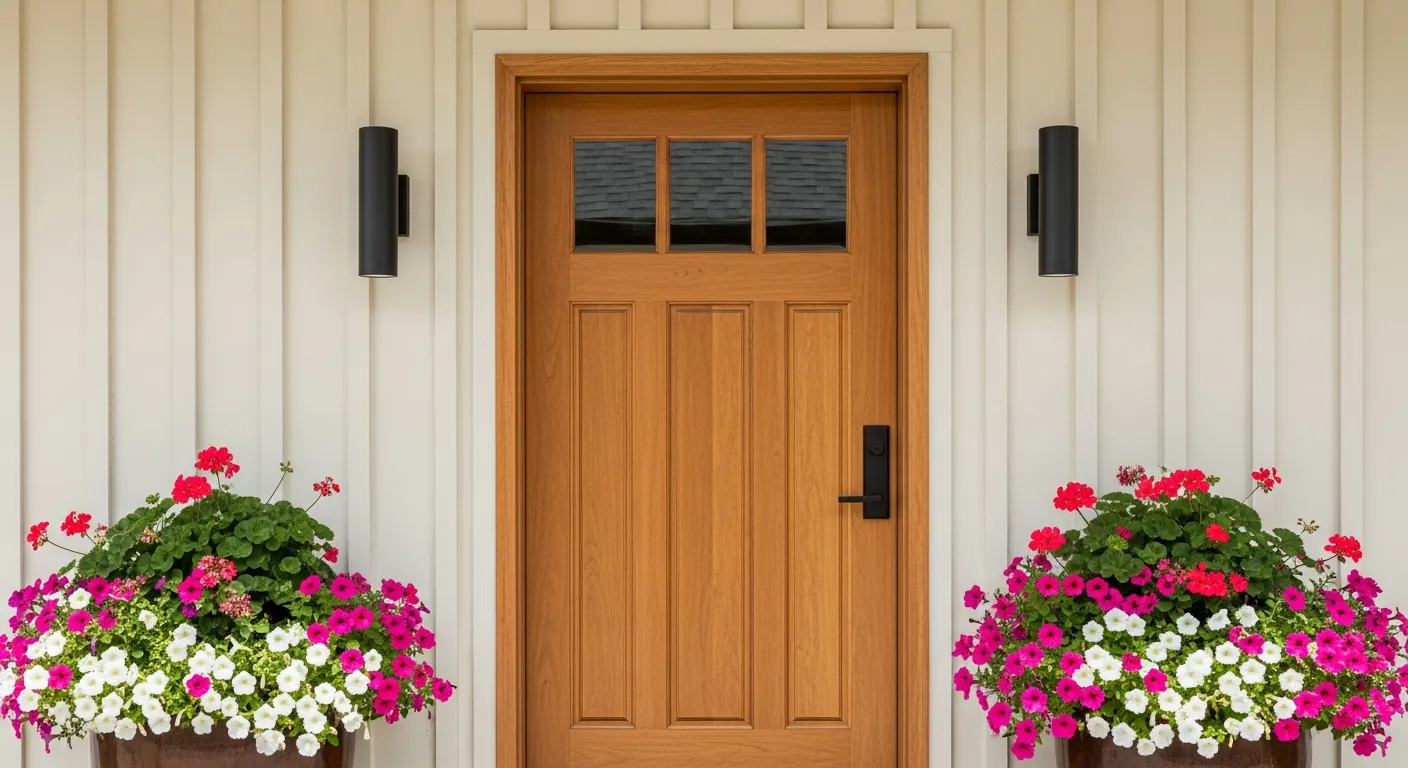
How to Tell if Your Door Frame Needs Replacement?
Here are some signs that indicate that the door frame needs to be replaced -
- Rotten wood pieces that seem to come off easily.
- Splits and other visible exterior damage to the frame.
- Dents and cracks on the frame, and gaps between the door and the frame.
- Sometimes the frames warp, where one section may seem larger than the other. Also, you might see bubbling segments that indicate moisture damage.
Also, if you see damage that seems impossible to repair, it is advised to replace the door frame along with the door. A door frame in poor condition may not insulate your home well, and it may also not go well with the new door (if you plan to replace the door).
How to Replace Your Door Frame?
Replacing a door is relatively easy, and you don’t need to call a professional if you have the right tools and materials.
Tools and Materials Required

Here are some tools and materials you need to have handy -
| Tools | Materials |
|
|
The Basic Preparation Work Before Replacing the Door Frame
Before you get started, here are some important steps you should follow to ensure a proper fitting -
- Measure the width and height of the door frame. Also, add an extra 10 cm on each side for the new frame.
- Remove the existing door with help, as doors can be heavy. To do this, tap the hinge pins loose, and then push open the door gently. Next, lift it off the frame.
- Also, remove the old frame. Take your time to remove it, as the task is quite delicate and requires precision.
- Remove any trims or architrave carefully, using the sharp edge of the chisel if you plan to use it later. Get the sharp edge between the wood and the plaster and ease the architrave off. If there’s any plaster coming off, patch it up.
- Next, take off any hardware from the frame, such as a strike plate for the door handle. If you want to reuse it, clean it properly and keep it somewhere safe. Additionally, get rid of any plaster, caulk, or sealant near the door.
- Lastly, remove any fixtures holding the frame, and cut through the jambs at a 45-degree angle and pry them away from the masonry. Once done, smooth the rough opening.
- Remember, if there’s a metal threshold at the bottom of the door, unscrew and remove it.
Step-by-Step Door Frame Replacement Process

Now that you have removed all the elements, follow the steps below to proceed with the installation of the new door frame -
- Moisture can damage the brickwork inside. So, be sure to apply DPC strips underneath the rough opening to prevent moisture from penetrating the frame.
- You can either build a door frame or buy a readymade one from the market.
- Coat the nails with a suitable emulsion when securing the DPC strips.
- Lift the new frame into the opening and hold it in place using wooden supports. Ensure that the door frame is completely straight using a spirit level or a plumb. If it seems unaligned, fix it with shims.
- Use a floor nailer to keep the frame in place and align one edge with a wall stud. After nailing everything, check again if the frame is perfectly straight.
- Drill three evenly positioned holes into each jamb to ensure that the load is spread correctly. Next, drill the screws to position the frame in place.
- Fill any gaps between the frame and the wall using plaster, mortar, or any other sealant.
- Once the mortar has hardened, apply caulk around the outer edge of the frame, and cut the caulk where the jamb touches the wall.
- Most door frames come unfinished, so you might have to give a finishing touch by painting them. Ensure to sand and prime the surface before painting. Seal it with varnish.
- If you have any nails or cracks, this is the time to cover them up. Lastly, fit the door into the frame. Once done, double-check everything, from hinges to paint , etc.
Should You DIY or Call a Professional for Door Frame Replacement?
DIYing door frame replacement is an affordable option. However, even a minor mistake can cause damage. Plus, you have to spend a lot of time on the project, which may not be possible if you are working individually. It might be risky if you are not a pro or haven’t managed any home project before. In such cases, it is advised to call a professional.
Though a skilled labor or contractor charges a bit more, it’s worth spending on them as they ensure to install the new door properly without any other problems. They set and seal the door perfectly, and their work includes a warranty. Thus, giving you peace of mind knowing that your future fixes are covered.